How can one Clean and Polish their own keys (excluding silver plated keys)
NOTE: This example is for polishing nickel plated or raw nickel-silver keys. DO NOT use it for polishing silver plated keys. Silver plated keys are commonly found on Buffet E11s, some Buffet R13s, most of the Buffet Prestige lines, Leblancs, some Selmer Paris models, many vintage professional clarinets. If you don’t know for 100% that you have Nickel Plated (or raw Nickel) keys then don’t try. Have someone look at your keys to confirm that they are nickel or raw nickel-silver keywork.
ITEMS NEEDED
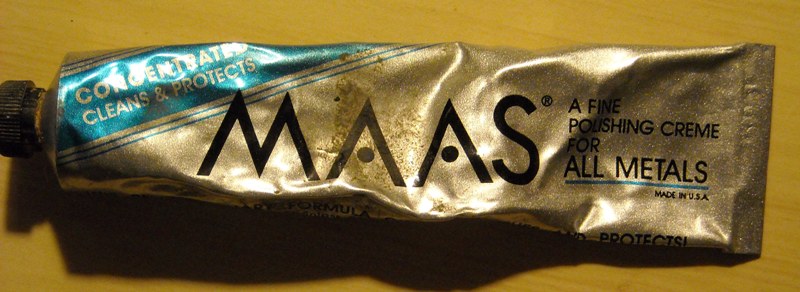
[1] MAAS (or other) polishing cream
[2] paper towels
[3] Lava soap (can be found at hardware stores)
[4] Patience
When I compare my clarinet overhauls with other technicians out there what I normally do is purchase an overhauled clarinet. I get to see first hand how someone elses work compares to mine. What I also find out is how the instrument plays compared to my work. Incidentally, I also find out how the tonal quality is of the selected and installed pads compared to what pads I select and install (after I change them).
Every so often I hear from clarinetists that their keys are “foggy” or not as highly polished as someone elses. They try using a polishing cloth or other means and can never get them as shiny as they would like. They consider these keys to have “foggy” plating. For the most part, this “foggy” plating can be polished up nice and shiny. In purchasing overhauled clarinets I have found many where the keywork is simply not 100% polished like it should be. They may have taken shortcuts in the process or simply don’t have the correct techniques.
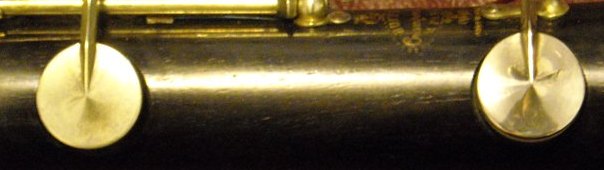
A couple years ago I purchased a 1955 Buffet R13 clarinet with a fresh overhaul. The keys were never as shiny as I would have liked them even after i used a red rouge polishing cloth on them. An Example, upon close inspection is as such below:
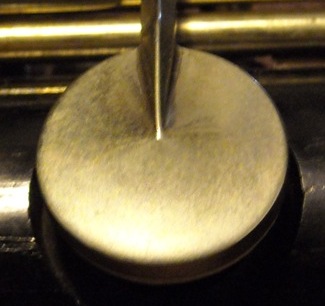
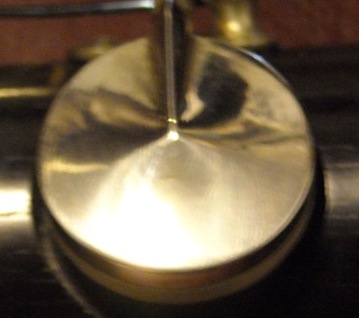
Compared to a nicely polished key (done by hand by the technique I’m going to review),
we can see the pad cup compared as below:
In the normal process that a technician uses to polish keys we first take off all the keywork and remove the pads and cork/felts. Of course, removing the pads for the player themselves is not an option (thus part of the problem). But during this process the keys normally get mechanically buffed, manually buffed using various buffing wheels and grit rouge (rouge is a powder substance which various in “grit” like sandpaper and thus allow fairly quick work at polishing. There’s different stages of it and such but either way, out of the reach of the player).
First we need to find a polishing material that can polish the keys quickly and to a nice polish. In the past for some quick key touch polishing I’ve used a polishing cream by MAAS. I’ve had this particular tube for easily over 10 years. So first, I don’t polish many keys by hand and when I do it’s very selective and I use very little of the paste.
Secondly, we need a polishing cloth. For simplicity, simply use a paper towel. You can use a cloth, etc but you will find a paper towel much more handy as when you polish the paper towel will get this icky black stuff all over it. And thus you will replace the paper towel quite often or fold and use different sections of it. NOTE: Your hands will get very dirty, and I provide an example of how to clean them properly below.
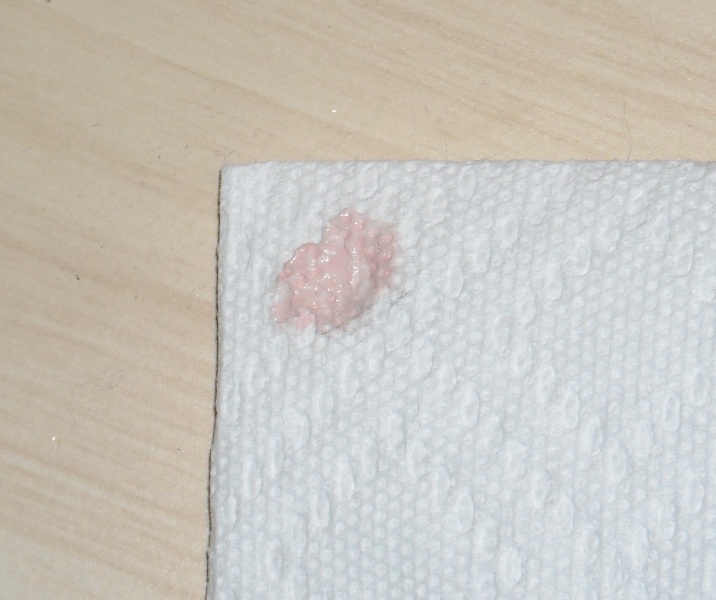
Basically as you see a super small dab on a paper towel. You don’t want too much because if you use too much you will find that you start leaving paste all over the place that needs additional cleanup. And when you polish the key cups, you may get paste on the pads, which may, as you try to remove it, ruin the pads. So we are talking as minimal amount as possible on the paper towel. You’ll still be amazed how such a small amount can still polish as the above picture examples have shown. You may find your self repeating as necessary on a key.
Next, select either the left or tight hand spatula touches. We select these simply because they are easy to get too, have a large surface area for visual comparison and it will not ruin anything in this test !!
Basically start polishing one of the touches. Remember, patience is required. If you try to use too much paste or go too fast then you could end up with a mess and it won’t be as shiny as you want it. Check underneath the key to see if you left residue cream.
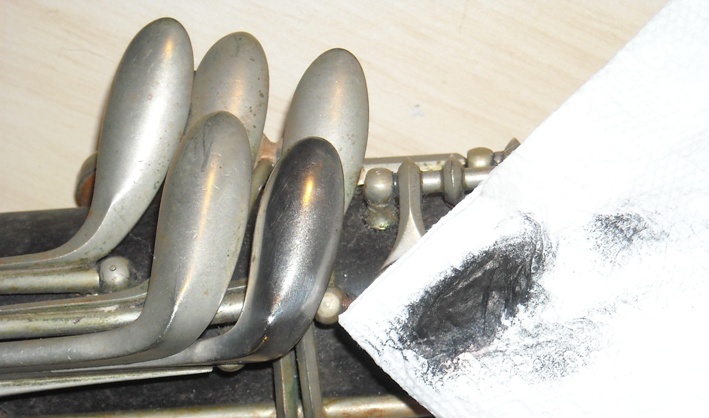
But, in the example above (with badly tarnished bass clarinet keywork) the Eb key is much more polished than the other keywork, though still not as polished as we would like it. You will notice that the paper towel has this black crude on it now (and your hands may have it too)
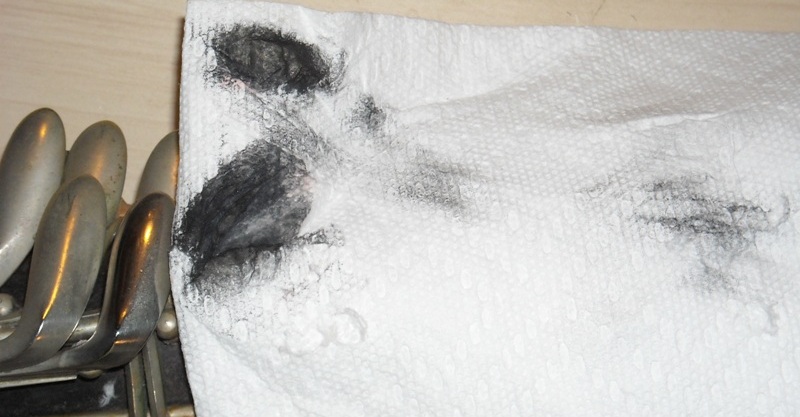
Now we put a second dab on the towel and give it a good polish. This time we can get the key much more clean. I then used another part of the paper towel (on the far right) and after cleaning with the cream I gave it a final “polish” and this time it is a nice and polished key in comparison to the others.
So as we can see, if we use a good polish, small amounts of it and patience we can polish up not only the touches by also the rods and key cups. I recommend leaving the key cups for last as you improve your technique and make sure you don’t use too much polishing cream – after all, you don’t want to get the stuff (especially after it turns black) on the pads. You also do not want to get the cream between the posts and rods – this is the area where the keywork touches the posts (the parts that are attached to tbe body). This polishing agent would be gritty and cause the keywork to get rough feeling over time and may cause other problems.
Afterwards you fingers will probably have the nice black stuff all over it. This is even if you take care in trying to keep your hands clean.
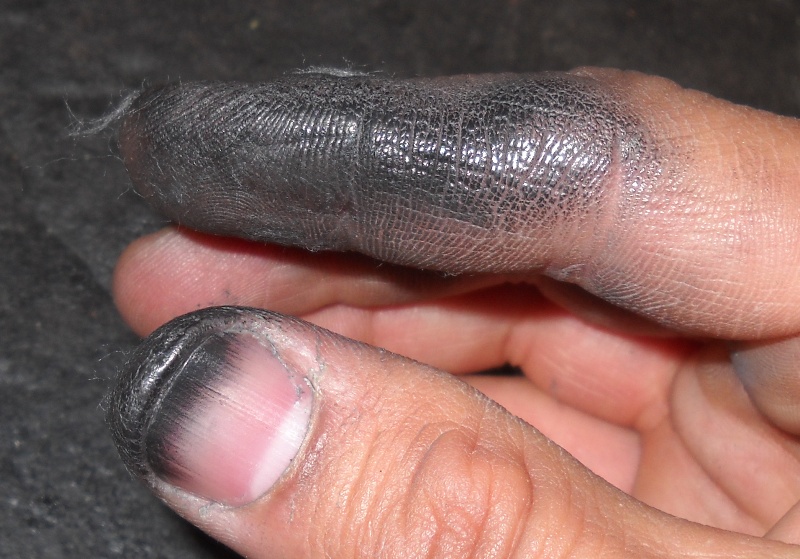
I’ve found that Lava soap (found at hardware stores) works wonders on getting oil and other icky stuff off of you hands. Don’t expect it to make your hands nice and velvetly smooth though, but it will get them nice and clean. As an alternate, dry laundry soap works really well too. Initially the gritty soap cleans off the stuff quite well but may leave a slight film on your hands.
Good luck and remember small amounts and patience.
On another note, my Buffet R13 (which the pad cup pictures are from) are now nicely polished. I also replaced the pads and found that tonally, pads can make a world of a difference. And yes, the old ones were sealing perfectly in my tests. But that is for another writeup.